In the steps below you will be given the tools to be able to utilize any service that our interface allows.
As with all marketing, audience targeting is one of the major factors to ensure that your creative is being seen by the correct prospective customer and or lead. Direct Mail is one of the only offline channels that allows you to target down to the specific recipient rather than the overarching household level. Whether you're a company that does not have enough statistically significant data to create a lookalike model or perhaps you just want to build an audience with specific data points. Postie allows you to build a custom audience. The steps below will show you how to create a custom audience using the data parameters from the Postie DMP.
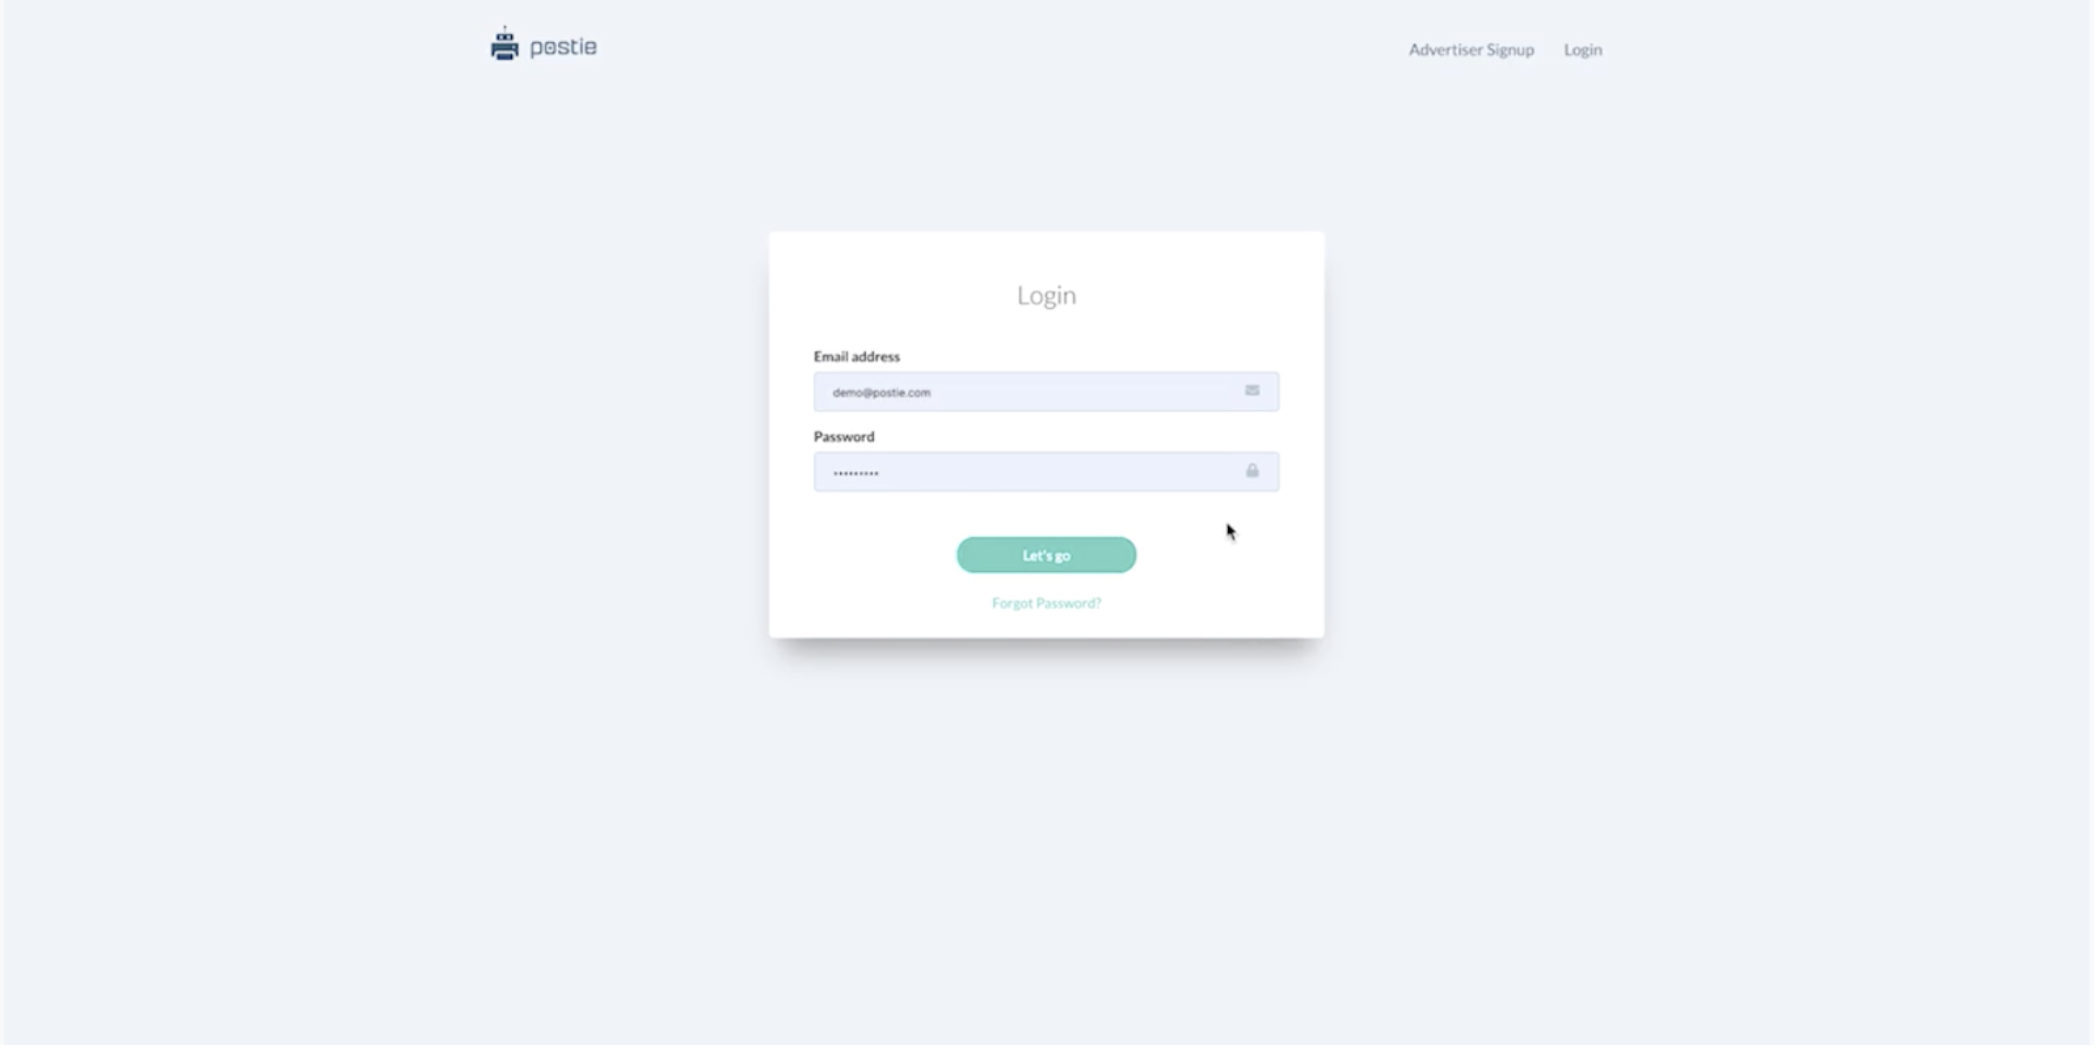
Step 1 - Login to the Postie Platform
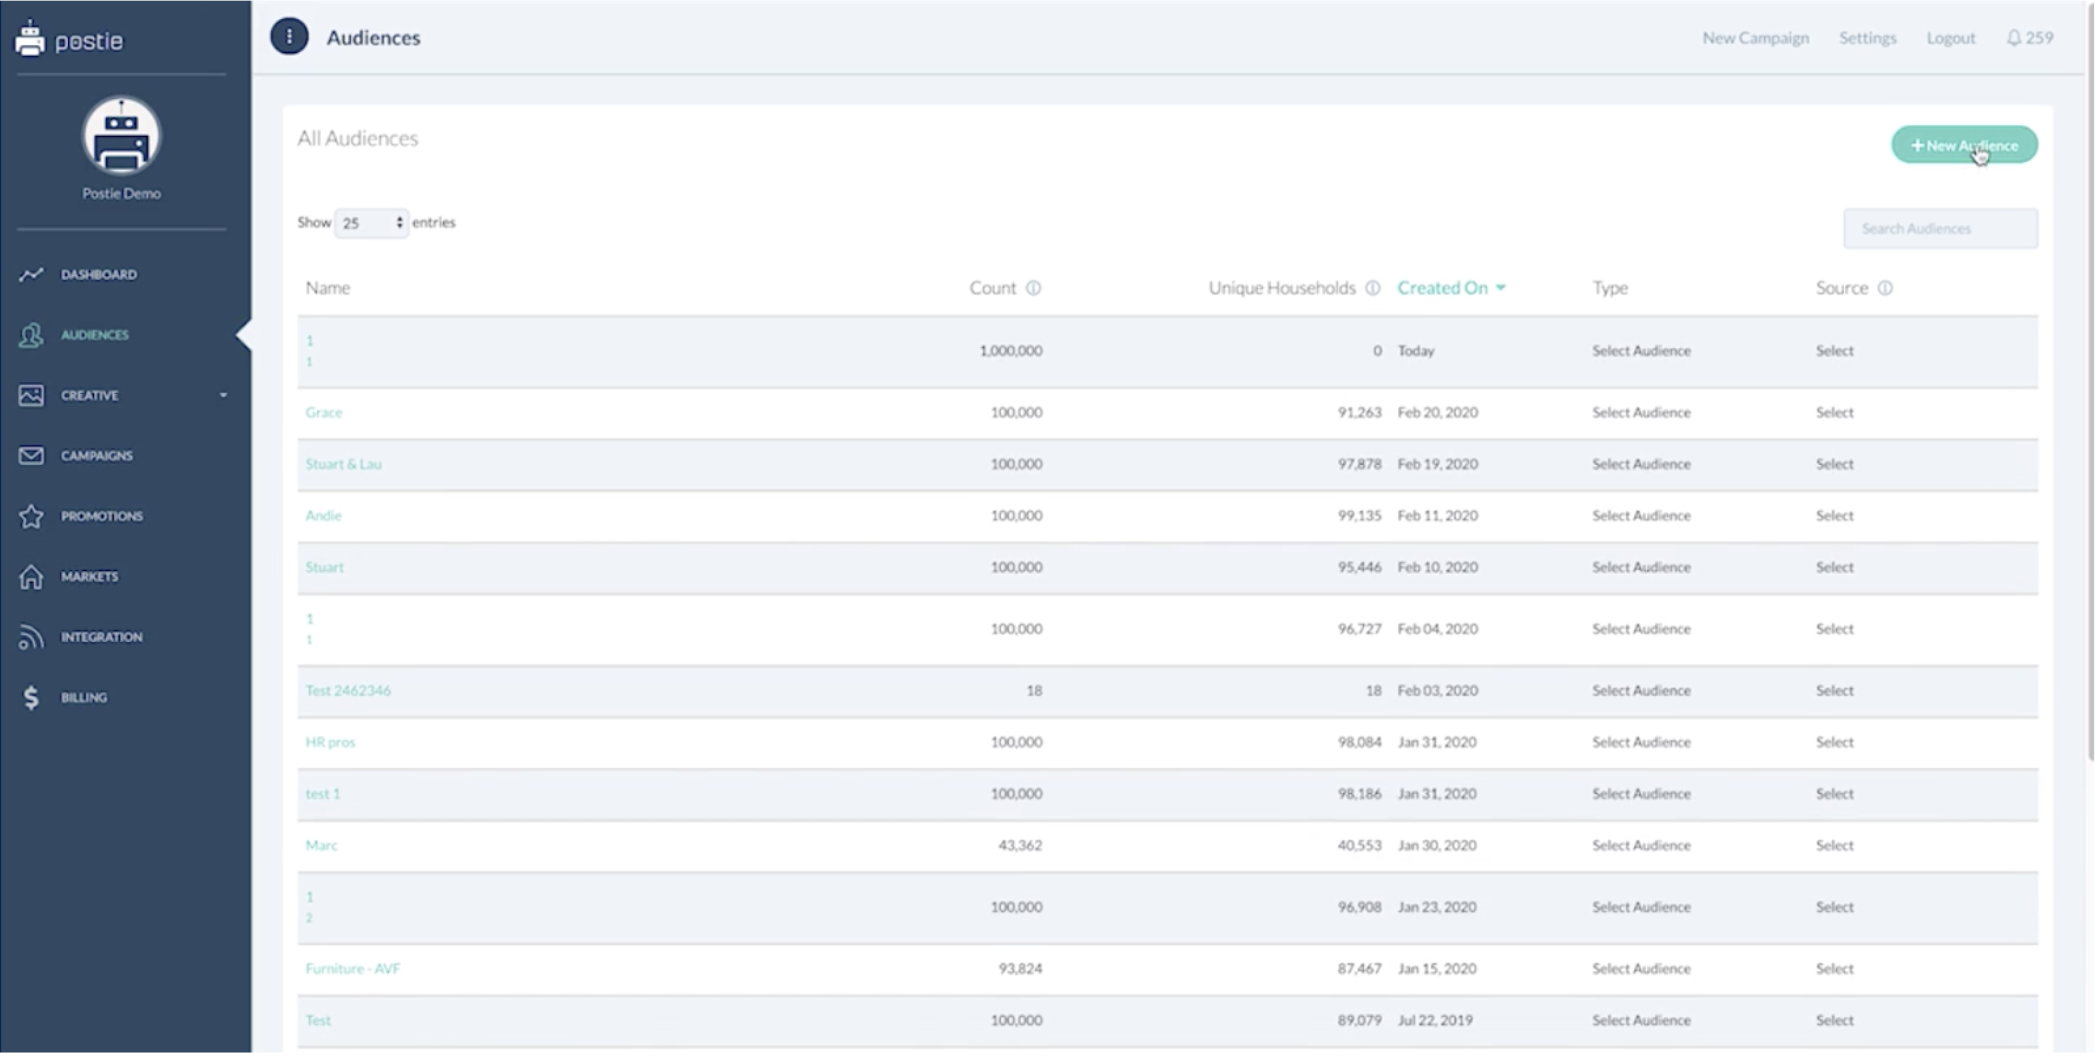
Step 2 - Select Audiences from the Left Nav

Step 3 - Select New Audience
Step 4 - Select the Type of Audience you would like to Build
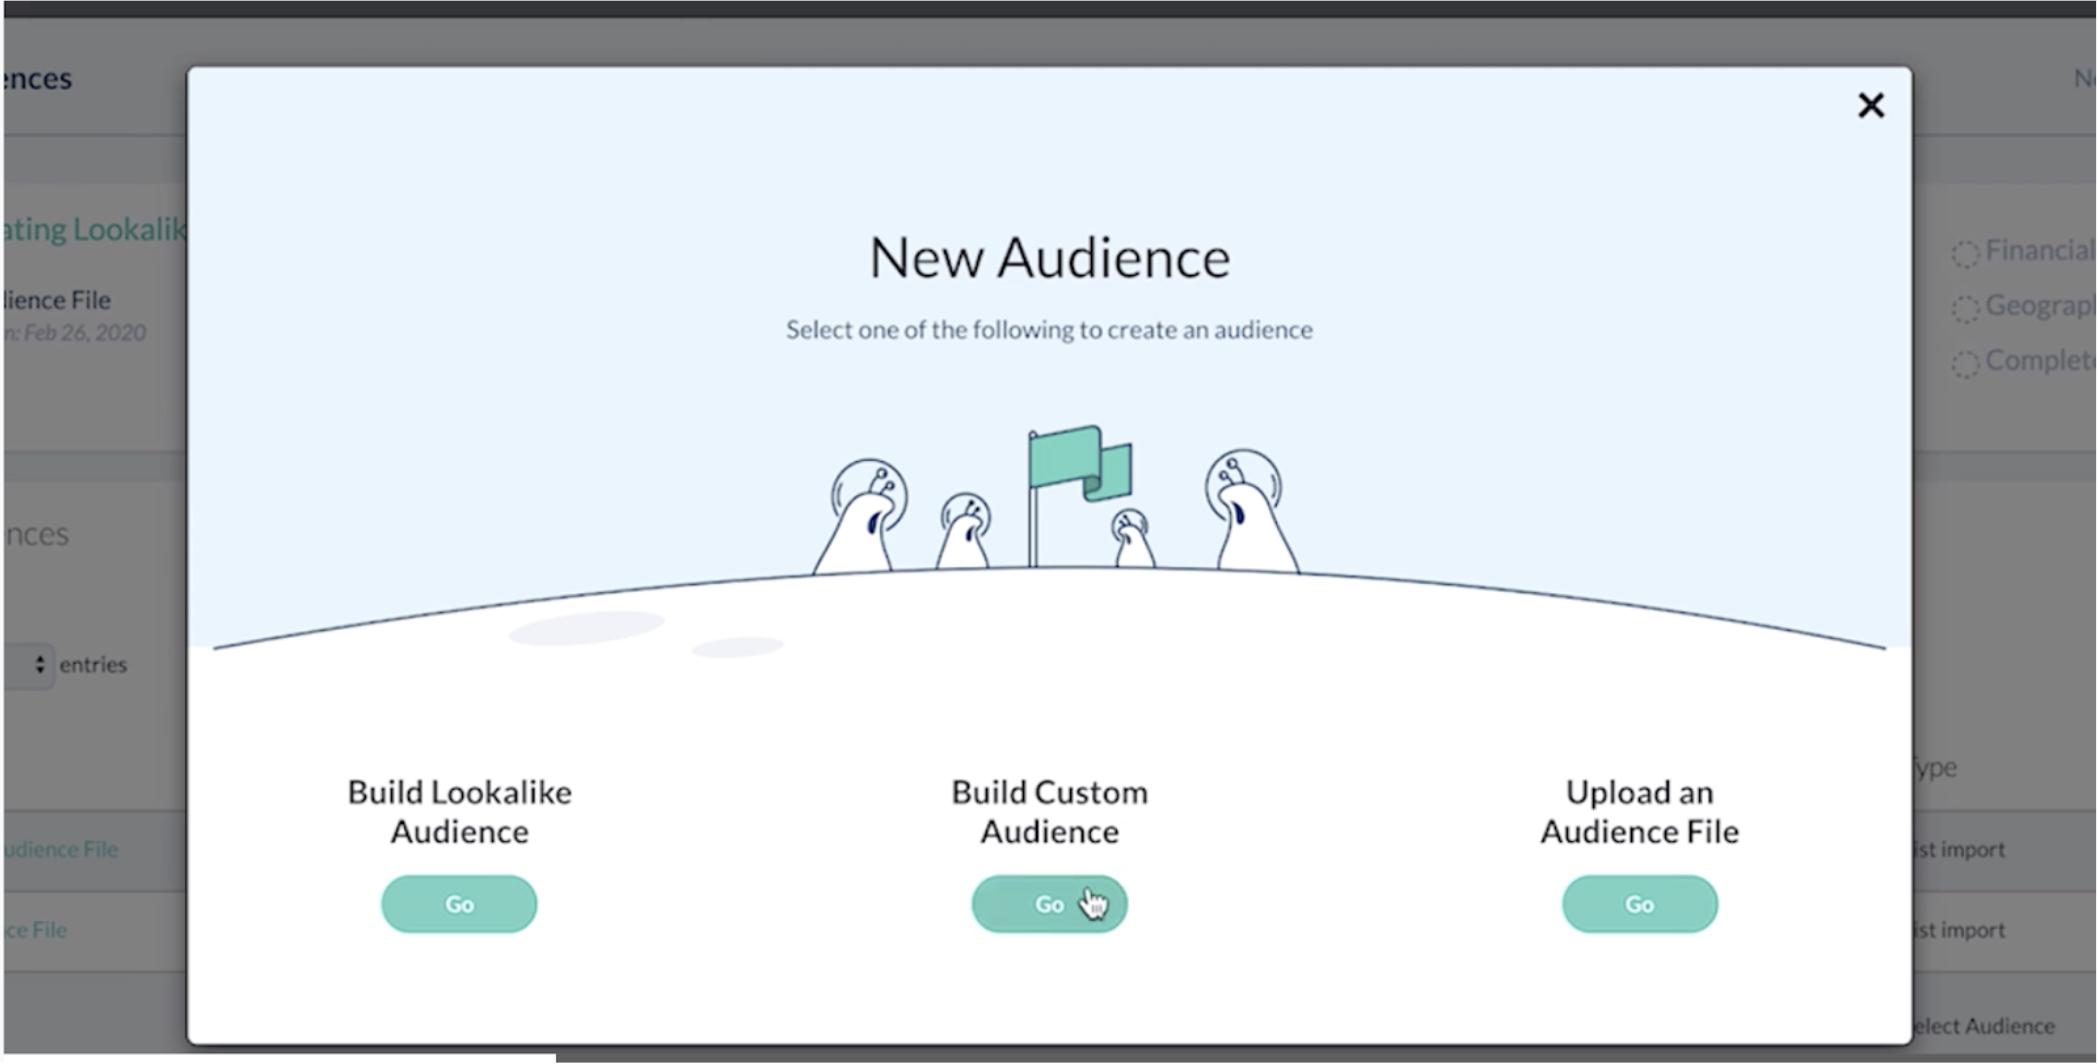
- You are now given three choices
- For this example choose build custom audience
Step 5 - Name Your Audience
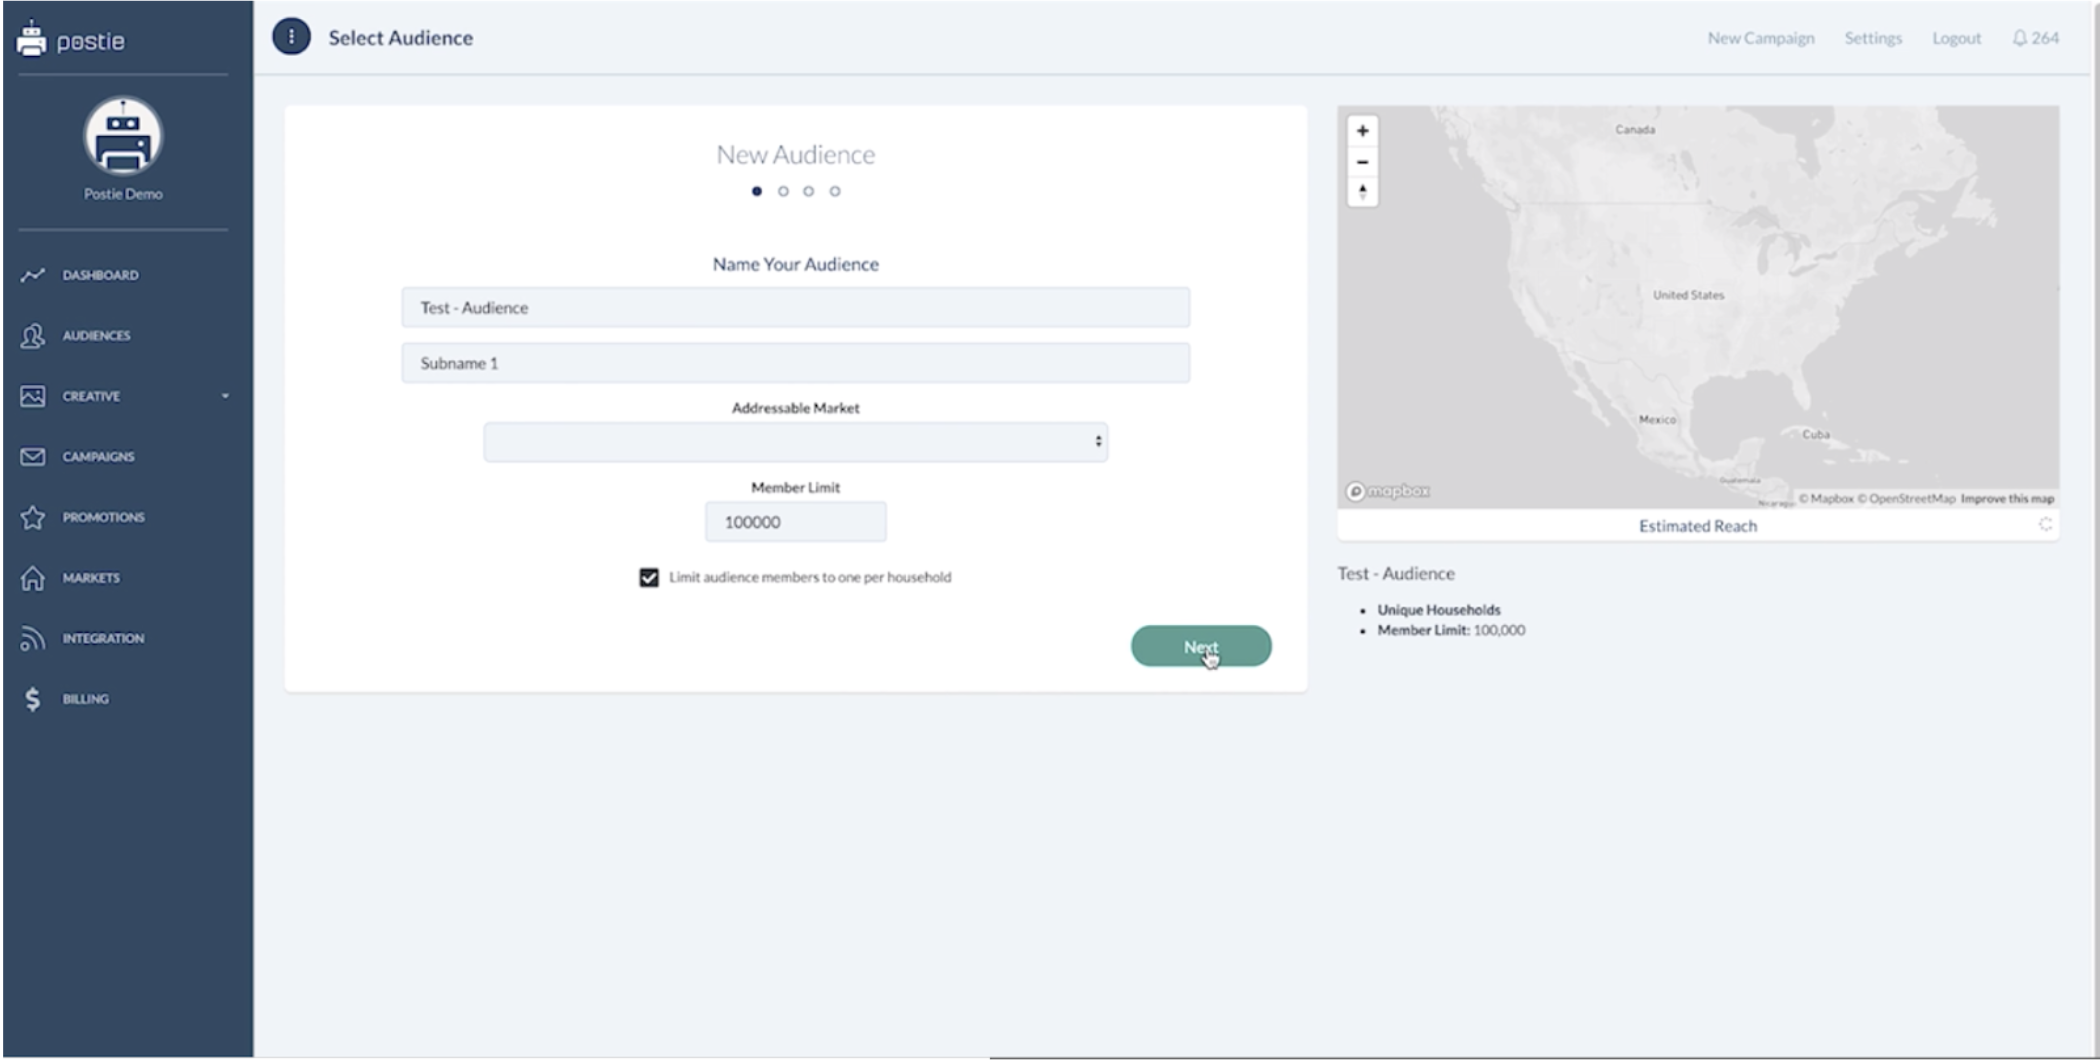
- If you're going to utilize the same audience name over and over again, use subname to be able to differentiate between them
- You can now choose your addressable market if you've already built one
- In this scenario we will keep this blank
- Your member limit should be determined on your budget
- In this case the member limit will stay at 100,000
- This will not change the estimated reach that will appear on the right side of the screen, but on the final output it will make a difference
- In most cases you will want to limit to one audience member per household
- This ensures that we do not send multiple pieces to the same household
- Click next
Step 6 - Demographics
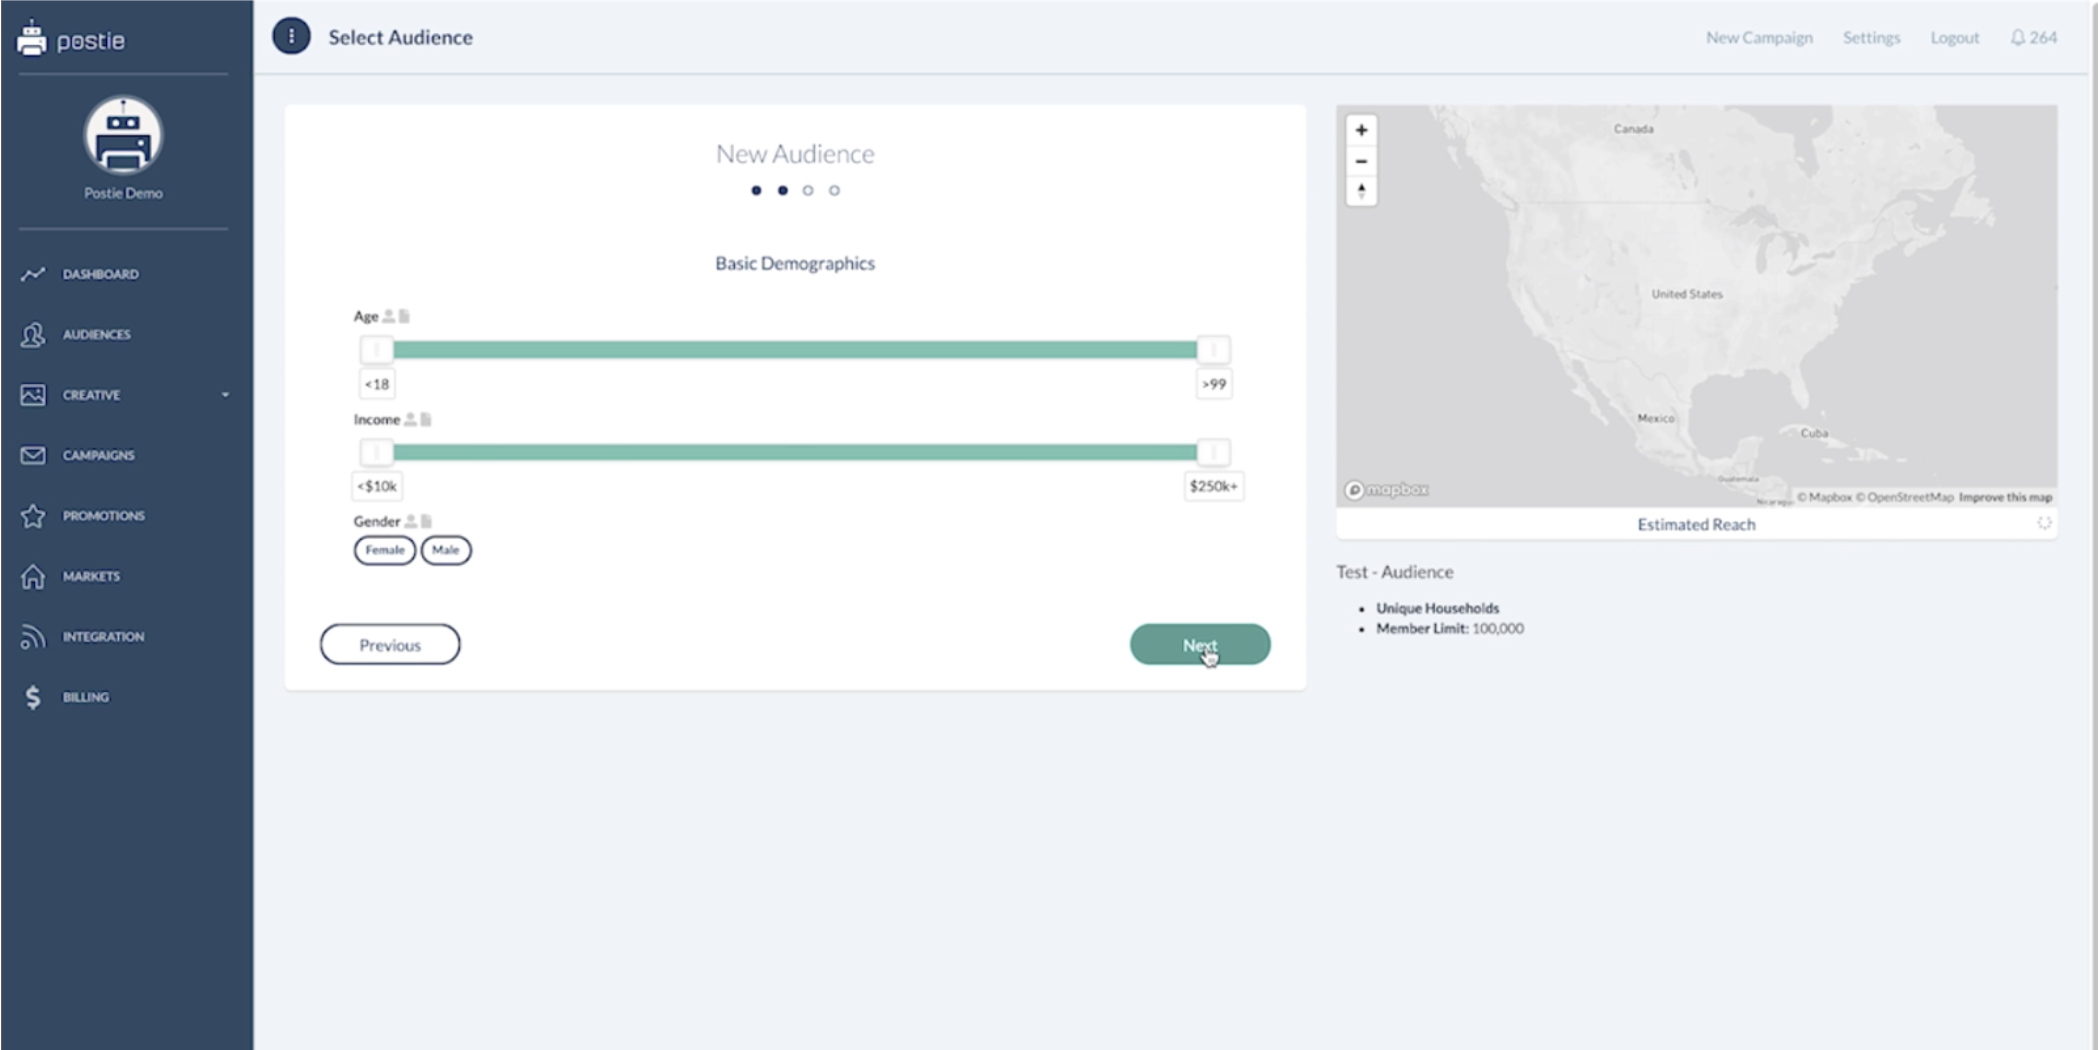
- You are now on a screen that has high level demographic data
Step 7 - Adjusting Demographics
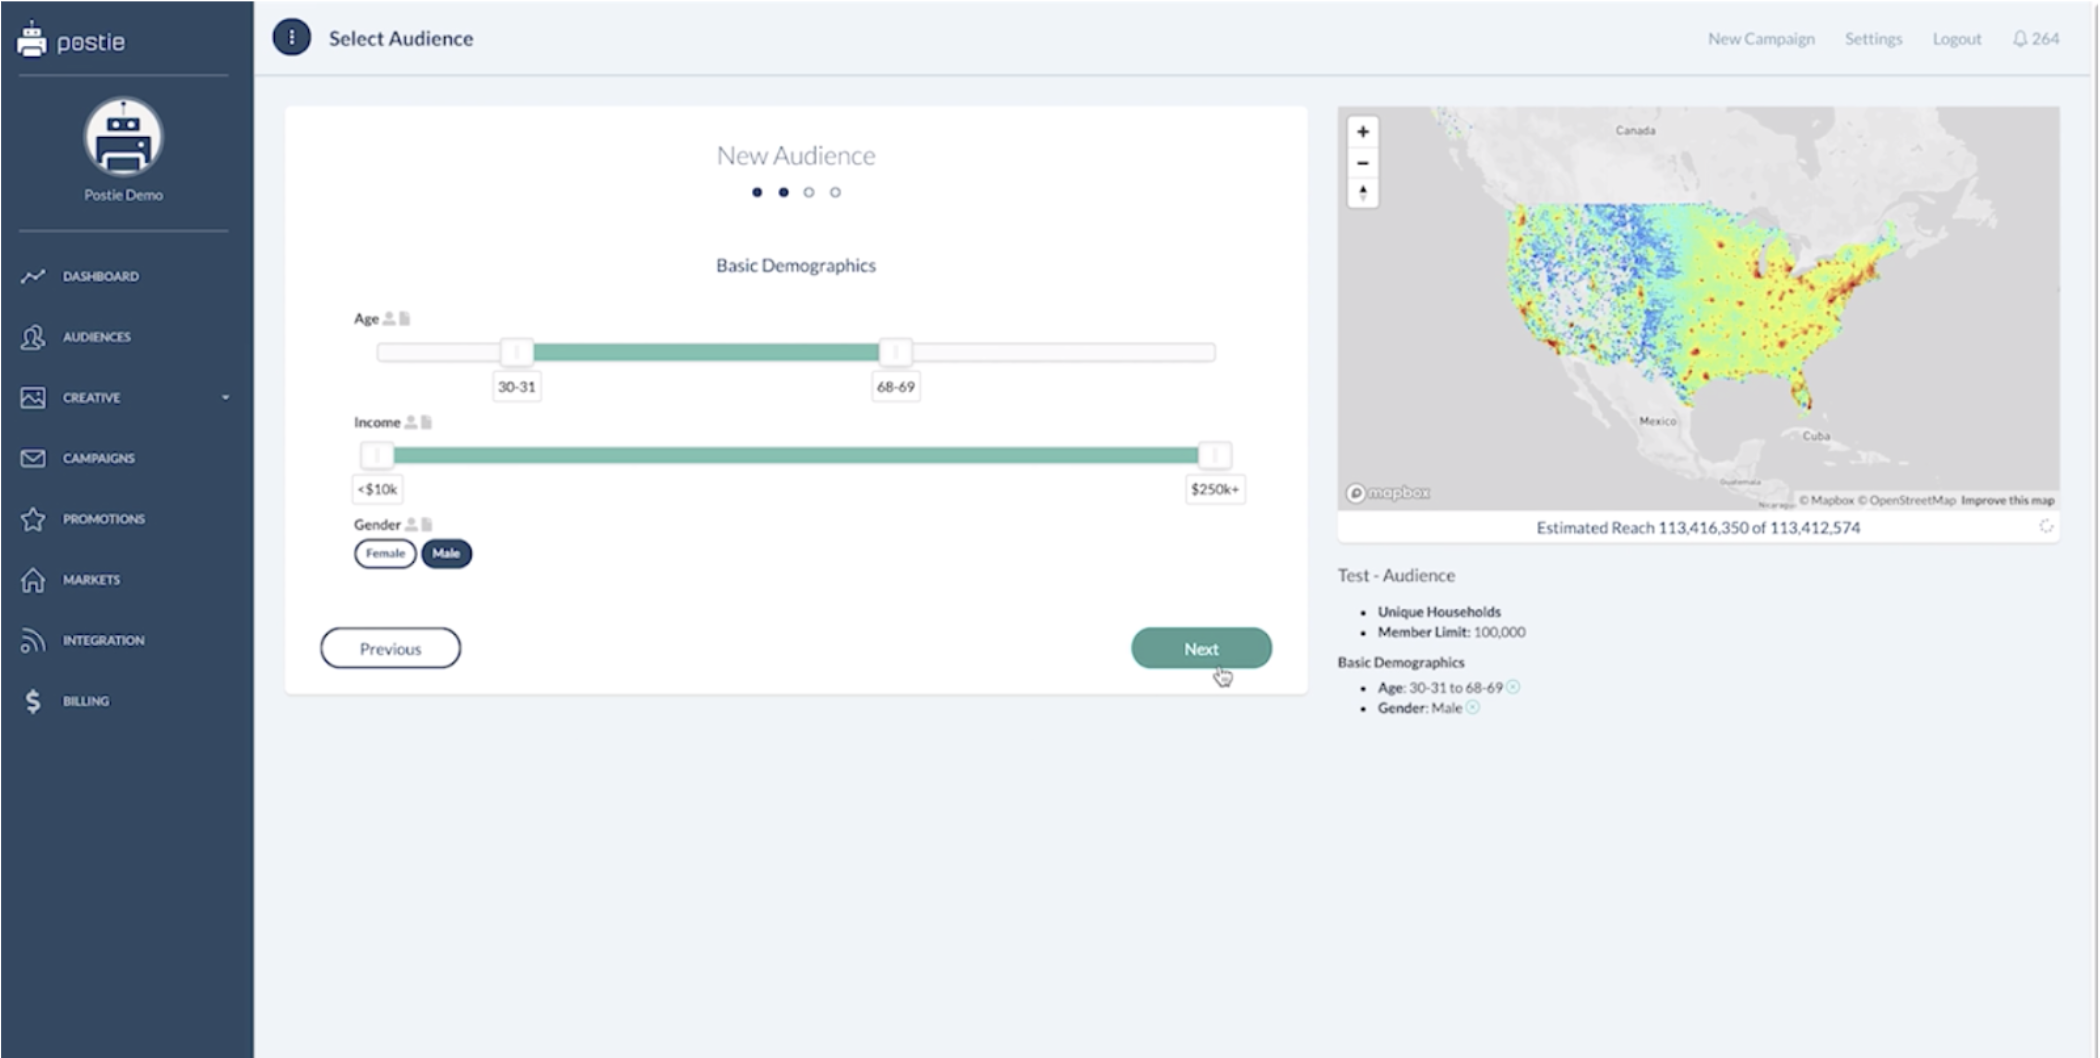
- If you need to age Target for income Target, move the slider left or right for the minimum and maximum.
- In this case for age the minimum is set at 30 years old and a maximum is set at 69 years old
- Household income is left wide open, and males are selected.
- As you can see with each data parameter that you add on, you are going to limit or reduce your reach.
- Each data parameter is an and, not an or.
Step 8 - Layer Data Parameters to on Top of the Audience
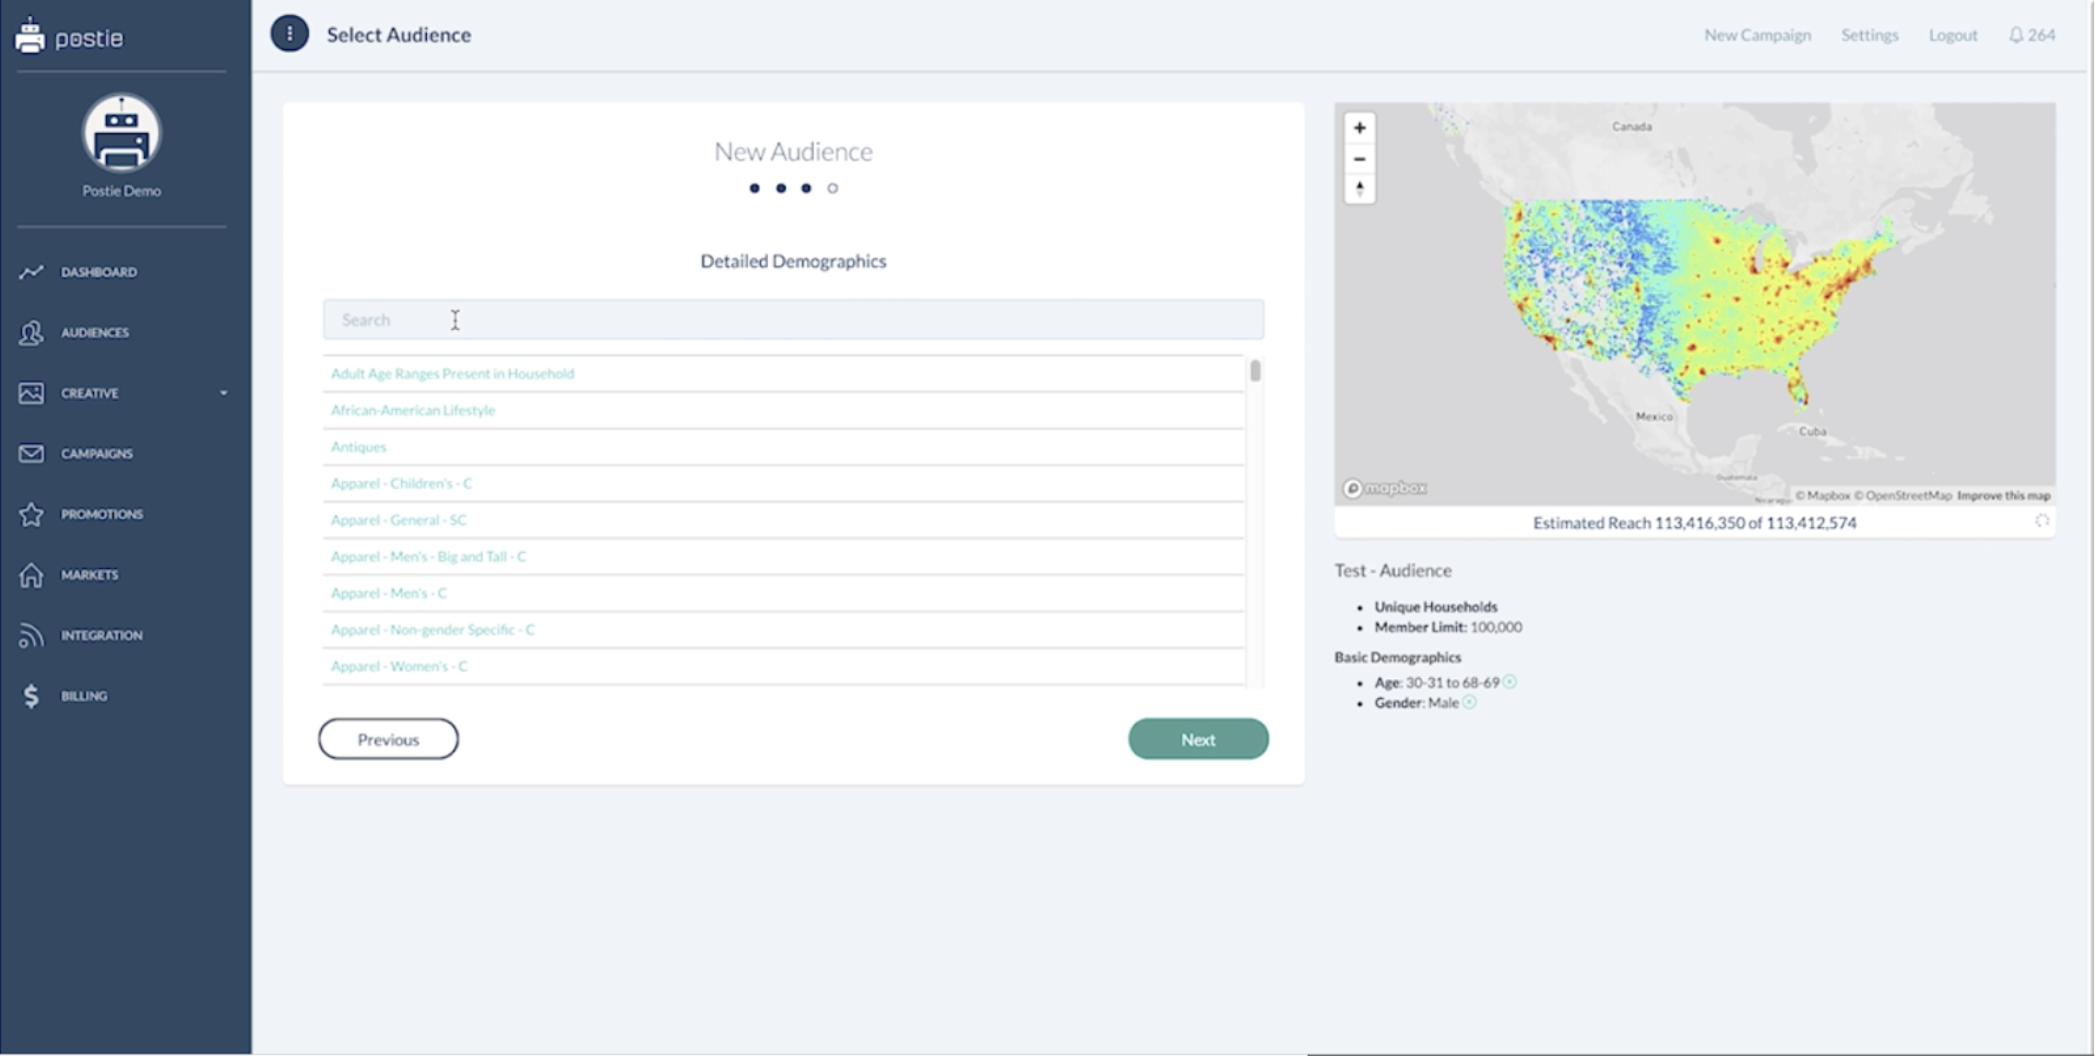
- Choose Children's Apparel
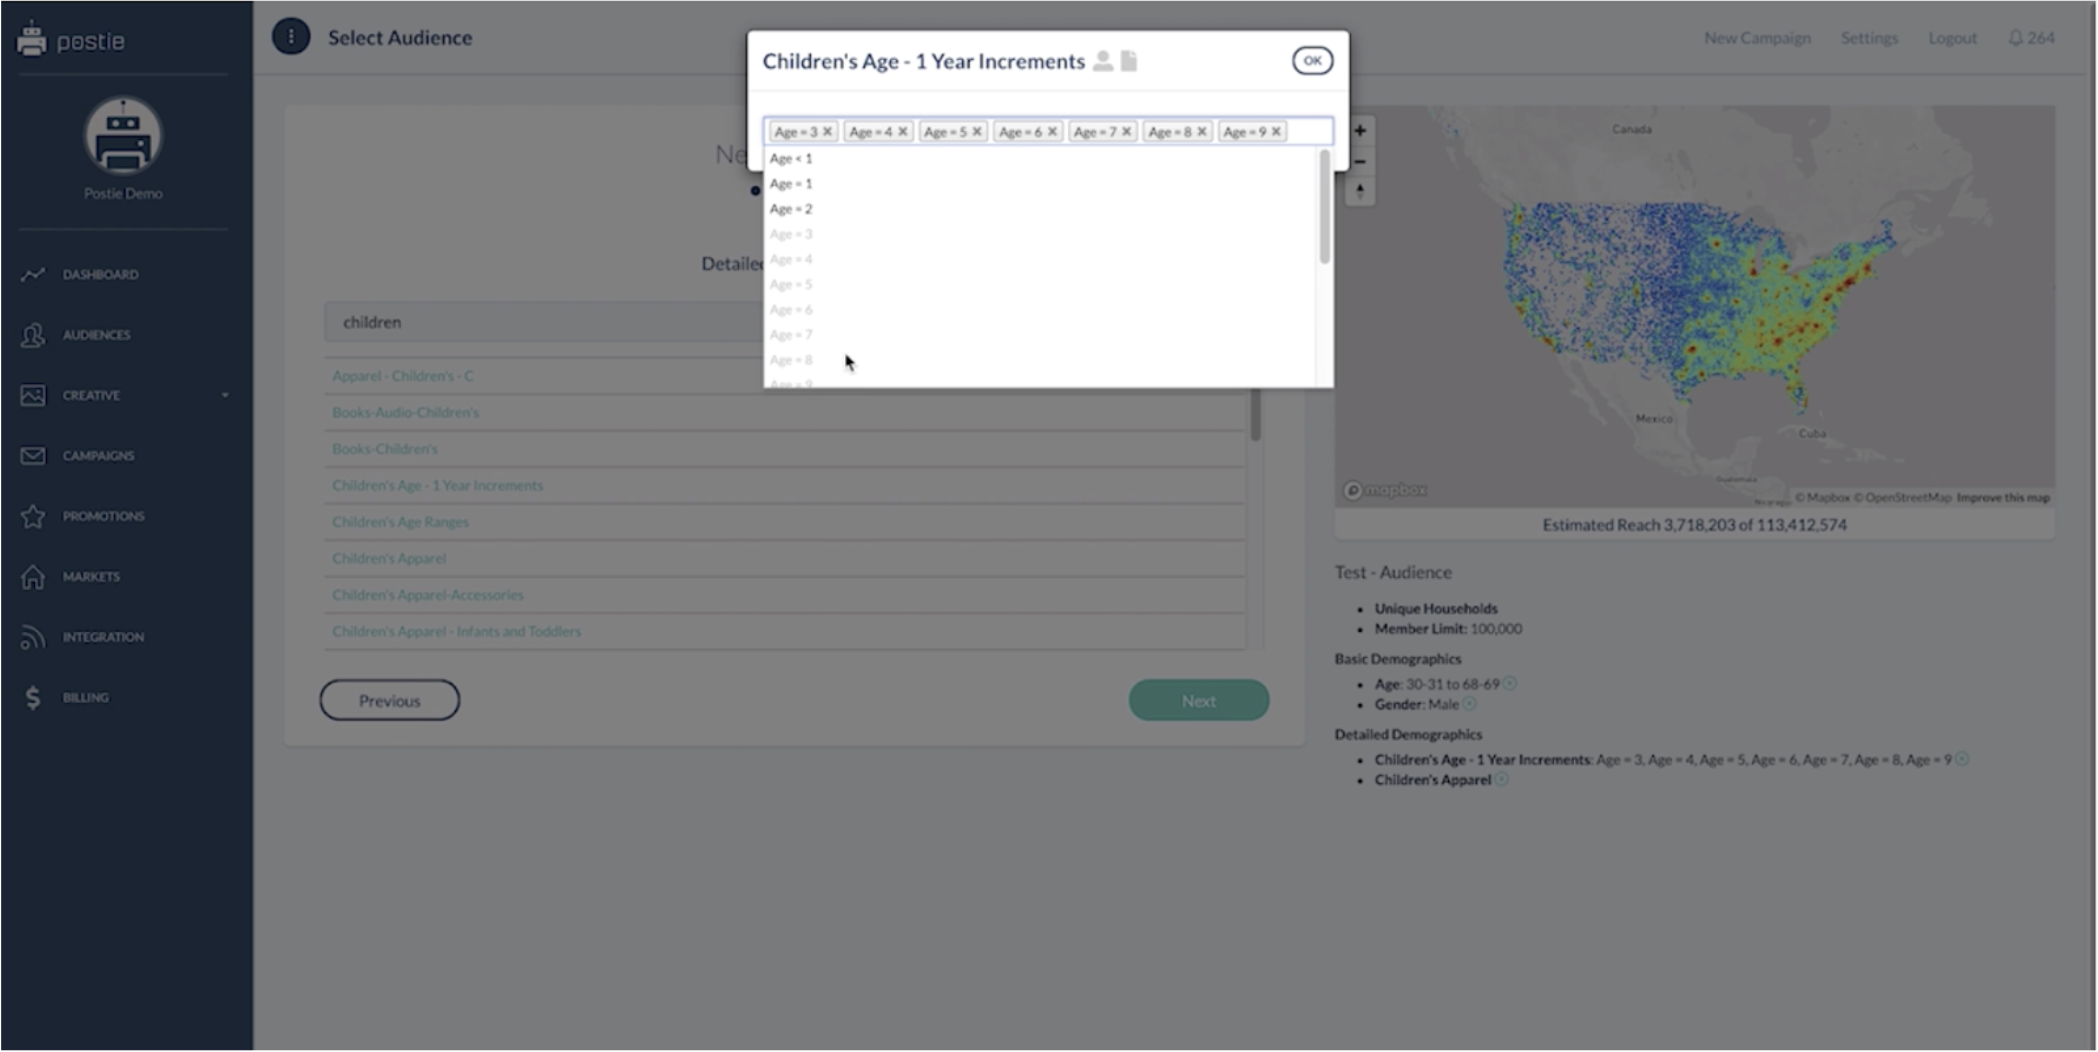
- Now, choose children's age increments
- For this example, choose increments between 3 and 10 years old
- Now that we have this limitation of data set we're going to go to the next screen
Step 9 - Setting Addressable Market
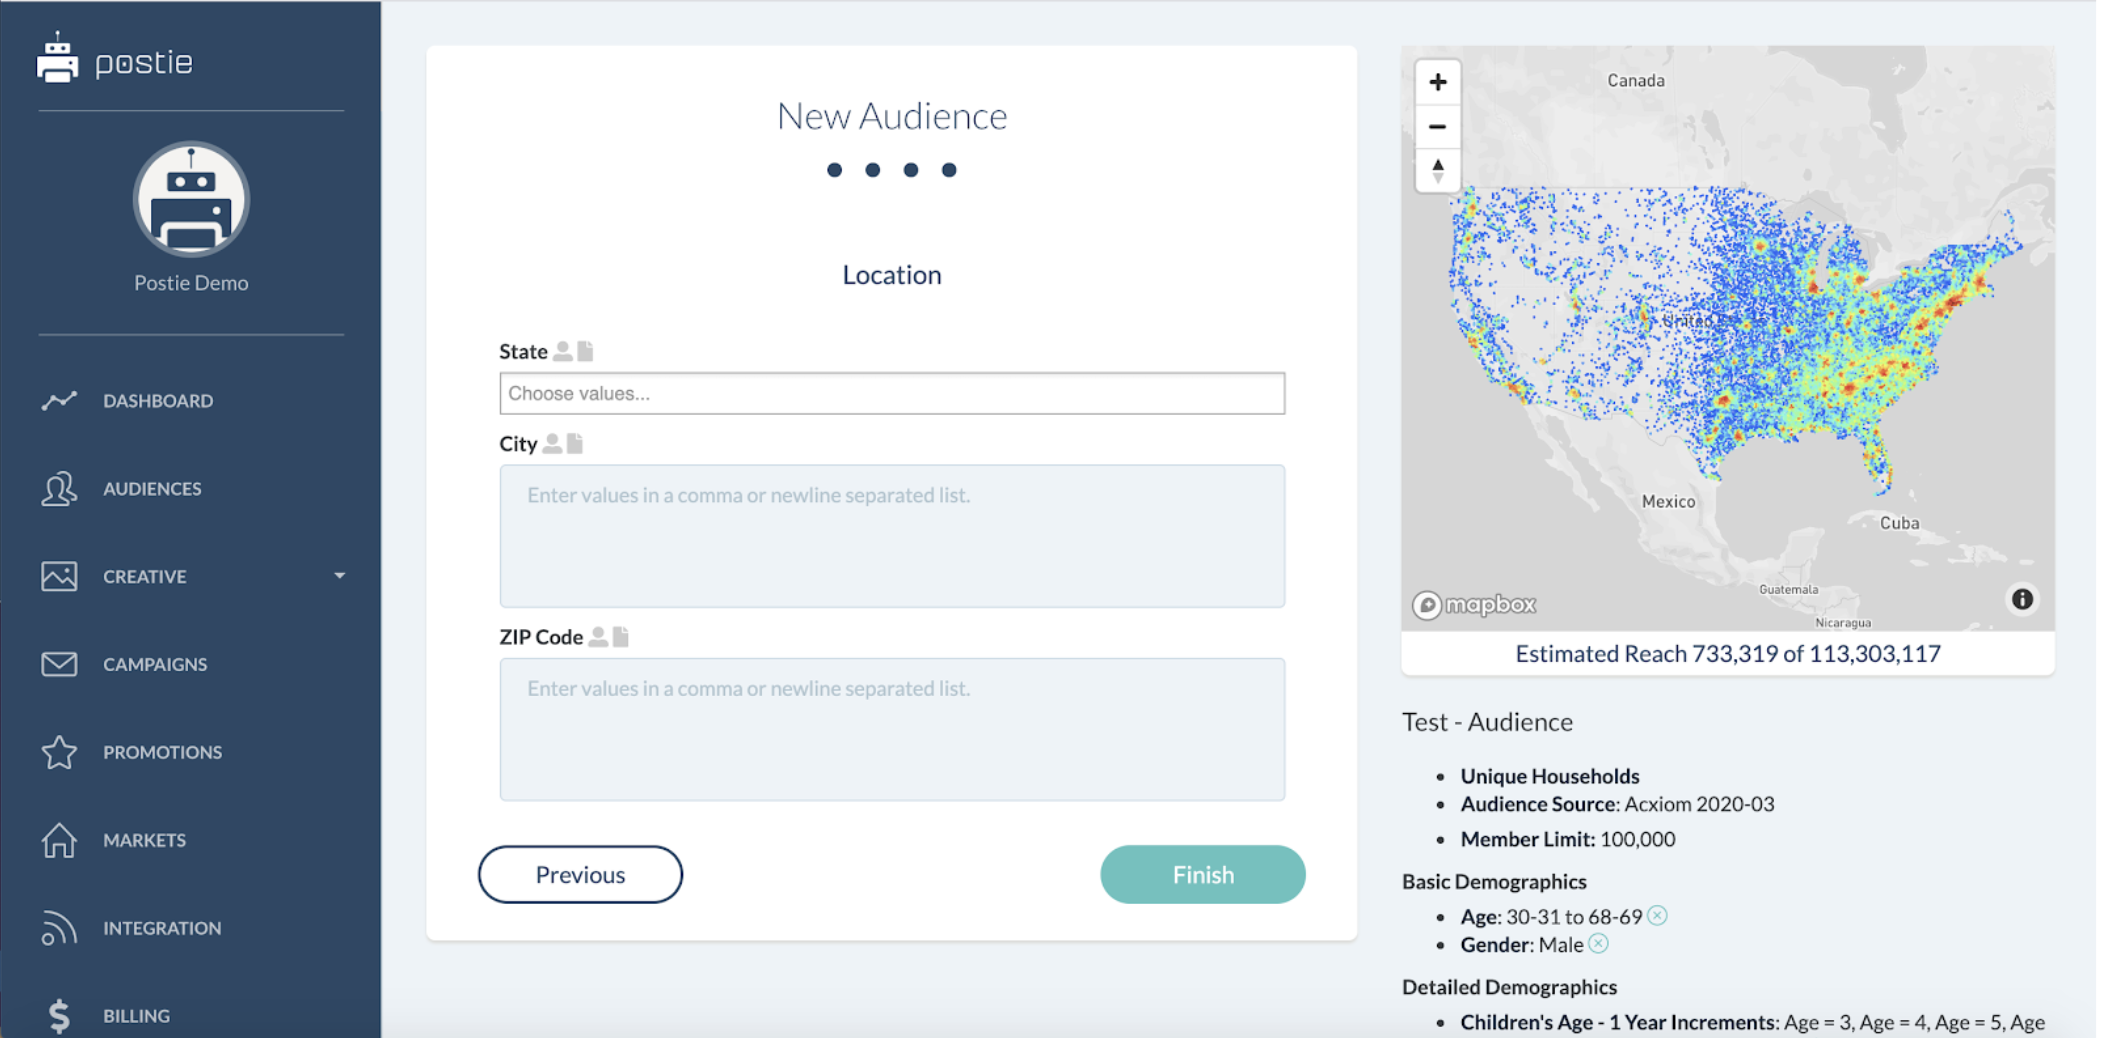
- If you have used an addressable market and you've already chosen it, this screen is irrelevant
- If you have not had a chance to create your addressable Market, this is where you can either include or exclude specific zip codes, cities, states
Step 10 - Audience Exclusions

- If you only ship products to the contiguous United States
- You can remove Alaska and Hawaii from this
- In order to negate Cities, ZIP codes, and states you can click on the little person right next to State, City, or Zip Code. When you click on it you will see the little person be crossed through and that means we are going to exclude these states.
- If you would like to only include the states, leave that little person unchecked.
- If you want your audience to remain US wide, you need not add any parameters into this Geographic targeting section.
- Once you're complete, click finish.
You have now built your custom audience. It will be ready for you to use in approximately 10 to 15 minutes and you can add it to any and all campaigns that you would like.